
Leveraging Claude Code
Tired of copying code between AI chat windows and your editor? Claude Code brings AI-powered development directly to your command line and your IDE. This tutorial covers installation, project creation, codebase analysis, and advanced workflows that will transform how you approach coding tasks. By Eric Van de Kerckhove.
Code Phase
Claude will now start executing the plan and will ask for permission to write files as it goes.
As usual, press Enter to let Claude continue if it asks for permission. I recommend enabling auto-accept mode in this case as well by pressing SHIFT-Tab once as Claude will now make quite some changes.
Keep the Source Control panel open while Claude is doing its thing and you’ll see it updating the codebase as it goes.
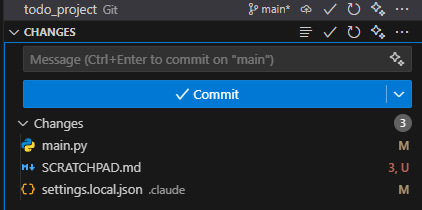
Once Claude is done, it should give a summary of what it has done. Next, test if the application is to your liking.
Delete the scratchpad file and commit the changes made by Claude in the Source Control panel to save the work.
In my case, Claude implemented the features, but the UI doesn’t look appealing.
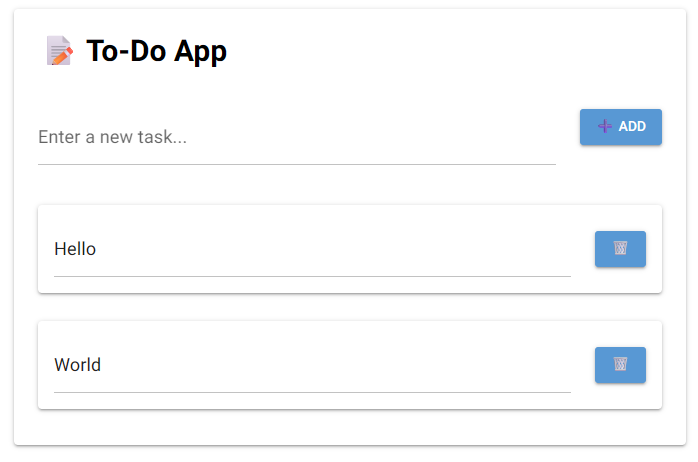
This is a good opportunity to test the image support. By supplying a screenshot to Claude, you can pinpoint the parts of the UI that needs to be improved.
First up, clear Claude’s context by sending a /clear prompt to Claude. This will erase the current conversation and start a new one.
On Linux and macOS, you can take a screenshot of the application, copy it to the clipboard and paste it in the prompt.
On macOS, press CMD-CTRL-SHIFT-4 to take a screenshot and copy it to the clipboard. On Linux it depends on the distro and the applications you use. The most common shortcuts are Shift-PrintScreen and Ctrl-PrintScreen.
Copying an image to the terminal doesn’t work (yet) on Windows. The easiest way is saving a screenshot to a file in your project and dragging that onto the prompt. You can also (temporarily) upload the image to a public URL and point Claude to it.
To take a screenshot with Windows, press WIN-SHIFT-S to open the Windows Snipping Tool. You can then choose the area you want to capture and save it to a file.
I’m going with the screenshot file here:
On Linux and macOS, you’ll see [Image #1] in the prompt after pasting the screenshot.
After you’ve added the image, add the actual prompt and send it to Claude:
This is how the application looks at the moment. Make it dark, modern and clean instead and get rid of the emojis.
Now let Claude do its thing and watch the magic happen. You can keep the to-do app open during this as it will update live.
I got this end result:
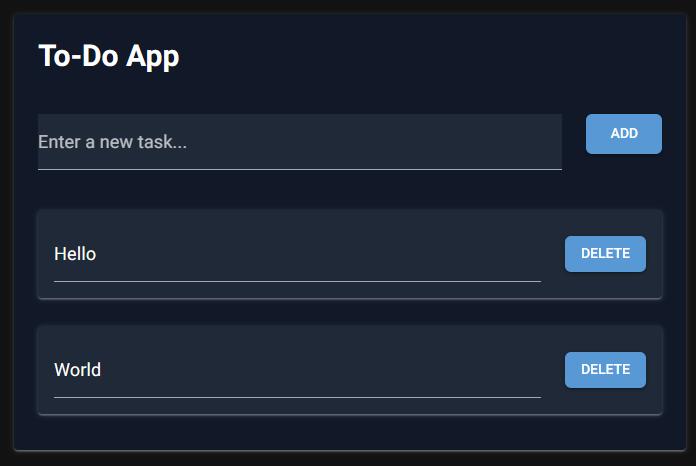
It’s still not the prettiest, but at least it’s dark!
With that, there’s only the commit phase left.
Commit Phase
Since there’s no README file yet, nor a CHANGELOG, make Claude add those along with committing the changes:
Add a README and a CHANGELOG. When you're done, commit the changes with a short, descriptive commit message.
This will make Claude create the two files and commit the changes to the repository.

Now you have a solid grasp on how to use Claude Code. The key is to communicate clearly with Claude and let it do the heavy lifting for you.
Tips and Tricks
This tutorial was merely a brief introduction to Claude Code. Here are some tips and tricks if you want to get even more out of it:
-
Add to memory: You can add a line to Claude’s memory by adding hashtag before your prompt. E.g.:
# Code style: Always use static typing -
Compact: Use the
/compactcommand to summarize the current conversation so Claude can keep track of it within its context. You can add a prompt at the end for extra insights. E.g.:/compact Focus on changes to the main.py file, discard the rest -
Headless mode: By running
claude -p "prompt"in your terminal, you can get a result without entering the Claude Code interface. E.g.:claude -p "What's the most important file in this project?"Answer:main.py - it contains the entire application logic for this app. -
YOLO mode: To skip all permission questions, use
claude --dangerously-skip-permissions. Use this with caution, as it will let Claude write and delete files without asking you first.
As a final power user tip, you can add custom commands to Claude Code!
These commands are markdown files with pre-made prompts in them that you can call from the command line. This is a great way to automate repetitive tasks or to create custom workflows.
You can add commands to either of these folders:
.claude/commands-
~/.claude/commands(macOS/Linux) or$HOME/.claude/commands(Windows)
The first one is for local commands, the second one is for global commands. You can even add arguments to the commands by using $ARGUMENTS in the markdown file. This allows you to create dynamic commands that can take your input.
For example, create a add_readme_and_changelog.md file in the .claude/commands folder with the following content and save it:
Create and/or update the README and CHANGELOG files.
Use the https://keepachangelog.com/en format.
Today's date is $ARGUMENTS.
This will create a command that you can run as a prompt like this once you’ve restarted Claude Code:
/add_readme_and_changelog.md 2026-01-01
Claude will then follow the instructions in the markdown file and use the date you provided as the date for the changelog entry. As you can imagine, this is extremely powerful!
Where to Go From Here?
You can download the project materials via the Download Materials link at the top and bottom of this page if you haven’t already done so.
If you want to learn more about Claude Code, here are some great resources to check out:
Are you interested in learning more about this subject for iOS projects, and learning about other possible AI coding techniques? Check out the AI-Assisted Development for iOS module!
Thank you for reading this tutorial to the end! I hope this will serve as a great start to your journey with Claude Code.
Join the discussion below to share your thoughts and questions.