
Leveraging Claude Code
Tired of copying code between AI chat windows and your editor? Claude Code brings AI-powered development directly to your command line and your IDE. This tutorial covers installation, project creation, codebase analysis, and advanced workflows that will transform how you approach coding tasks. By Eric Van de Kerckhove.
The era of having to copy-paste code from an AI chat tab into your code editor has come to an end a while ago. AI-powered coding assistants have become increasingly sophisticated, with tools like Aider showing how powerful command-line AI integration can be for development workflows. As a downside, these tools often require you to learn specific commands and syntax to communicate effectively with the AI.
Claude Code builds on this foundation with a more intuitive approach. Instead of memorizing commands, you can describe what you want to do using natural language.
Getting Started
Download the project materials via the Download Materials link at the top and bottom of this page. Next, unzip the project somewhere for later use.
To follow along with this tutorial, you’ll need to have the following installed:
- The latest version of NodeJS
- A recent version of Git if you’re on Windows
- Python 3.9 or higher to run the projects
With that taken care of, it’s time to take a closer look at what you can do with Claude Code and how to install it.
What is Claude Code?
Claude Code is an agentic command line tool. That’s a fancy term for a CLI program that can understand what you want to accomplish and then figure out and execute the steps to do it, rather than just running one specific command at a time. Instead of having to switch back and forth between your code editor and an AI chat tab, you can delegate coding tasks directly to Claude right from your command line.
Think of it as a smart assistant that can help you with anything you need to do, with access to a wide range of tools and resources. It’s designed to streamline your development process by bringing Claude‘s coding capabilities right where you’re already working.
Setting up Claude Code
Before delving into the installation, you need to know that using Claude Code isn’t free.
Claude Code needs either a Claude subscription or an Anthropic API key to function. If you can swing it, I’d strongly recommend getting an annual Claude Pro subscription — it’s much more cost-effective than paying per API call since Claude Code can burn through tokens quickly.
Not sure if Claude Code is worth it? Grab an API key and load it with $10 in credit. That’ll get you through this tutorial with some tokens left over to experiment.
Whatever option you go with, the next step is to install Claude Code!
Installation
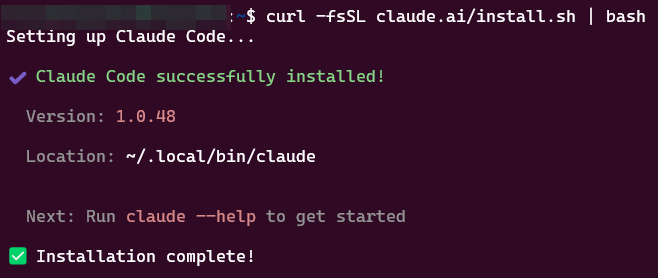
Open a new terminal window and run the command below to install Claude Code:
npm install -g @anthropic-ai/claude-code
You should see the following message after the installation is complete:
Configuring Claude Code
When you run Claude Code for the first time, it will ask you to set a color mode, choose whatever looks best in your terminal. After that, you’ll get asked for your login method:
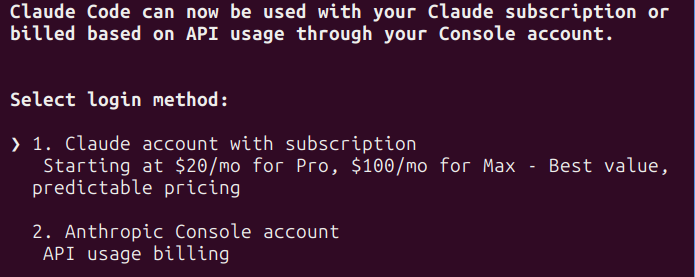
If you have a Claude Pro or Max account, choose option 1 here and it’ll try to open a web browser to sign in with your account. If you prefer to use your Anthropic Console account, choose option 2 and enter your API key when asked.
Once you’re logged in, you’ll get a final disclaimer. Press Enter to dismiss it and you’ll be good to go.
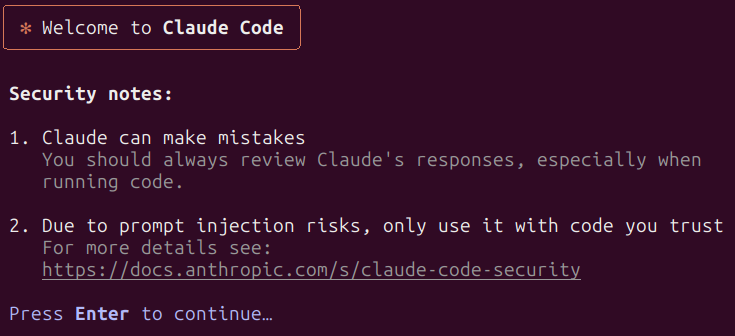
If all went well, you should see a box with a message asking you if you trust the files in the folder like the one below.
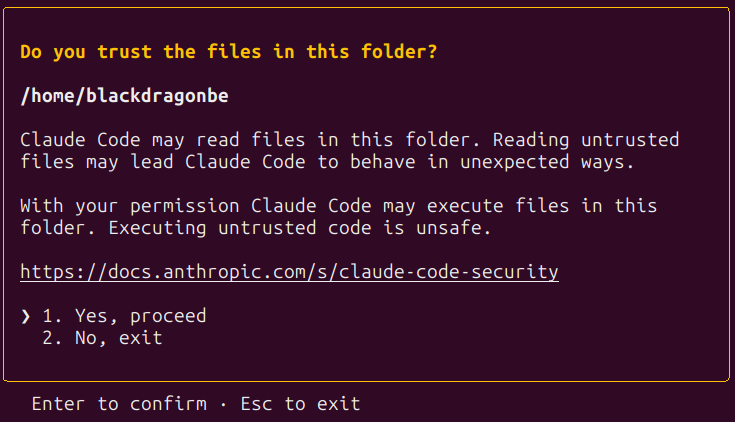
Choose no for now and get ready to learn how to use Claude Code.
Creating a Project From Scratch
To get your feet wet, start by creating a fresh Python project using Claude Code.
Create a new folder for your project and name it “hello_claude_code“. Open a new terminal in that folder and run the following command:
claude
If it asks if you trust the files in the folder, choose yes. You should now see the welcome message and a prompt input.

Talking with Claude
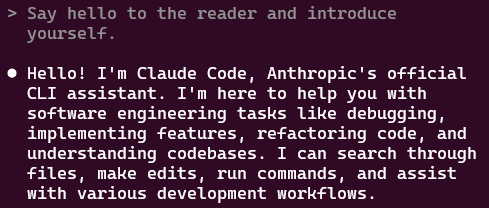
You can now start talking with Claude Code. Type your prompt and press Enter to send it to Claude. For a first prompt, try saying “Hello”.

Claude will “think” for a short while before responding.
To get Claude to create a project for you, copy and paste the following prompt into the terminal and press Enter:
Create a Mad Libs Python program that:
1. Prompts the user for different types of words (nouns, verbs, adjectives, etc.)
2. Stores a fun story template with placeholders
3. Substitutes the user's words into the story
4. Displays the completed silly story
5. Includes input validation and the option to play again
6. Use clear variable names and add helpful comments
After a some time, the agent aspect of Claude Code will kick in. It won’t write code in the terminal just yet, but will instead come up with a plan of action.
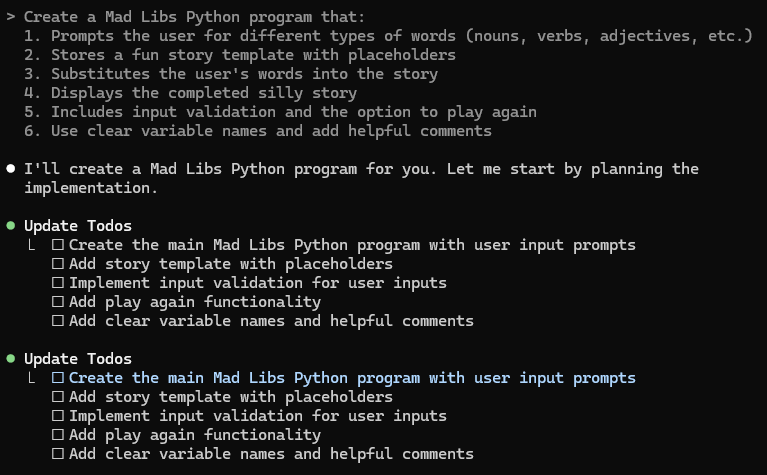
If all goes well Claude will want to write a file. It won’t do this without asking for your permission, so you’ll see the code it wants to write, followed by a question like the one below:

You have three options here:
- Yes: this will allow Claude to write this particular file.
- Yes, and don’t ask again this session: Claude will write this file and won’t ask you again if it can write files.
- No: Claude won’t write the file and will wait for a new prompt.
Check if the code looks good and then press Enter to continue and choose the default option for now, which is “yes”.
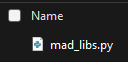
At this point you can check if the file actually exists in the project folder.
For such a simple project, there’s a good chance Claude will use a single file. If it does ask to write more, reply with yes.
Once Claude is done, it will write a summary of what it has done and instructions for you to follow up. I got the following message:

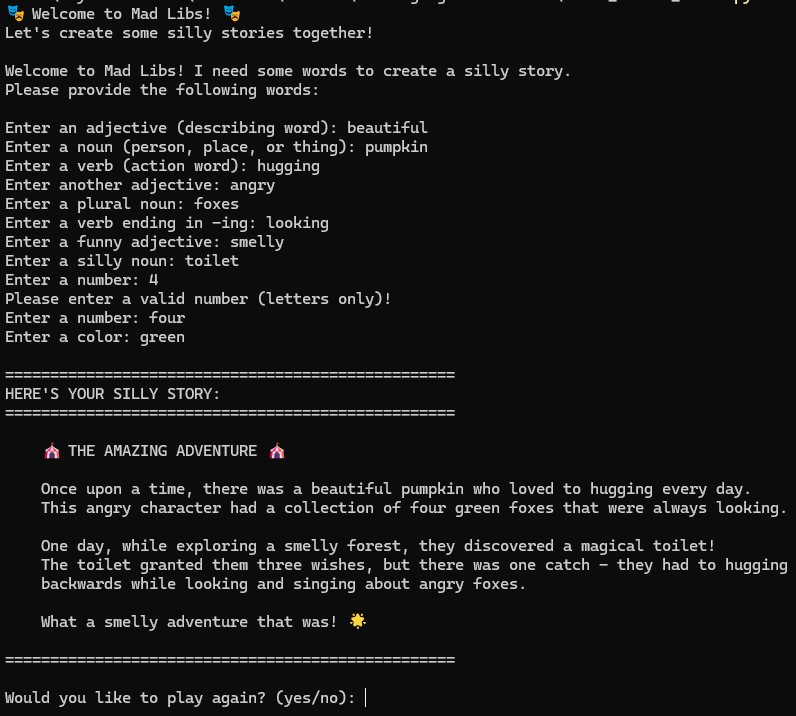
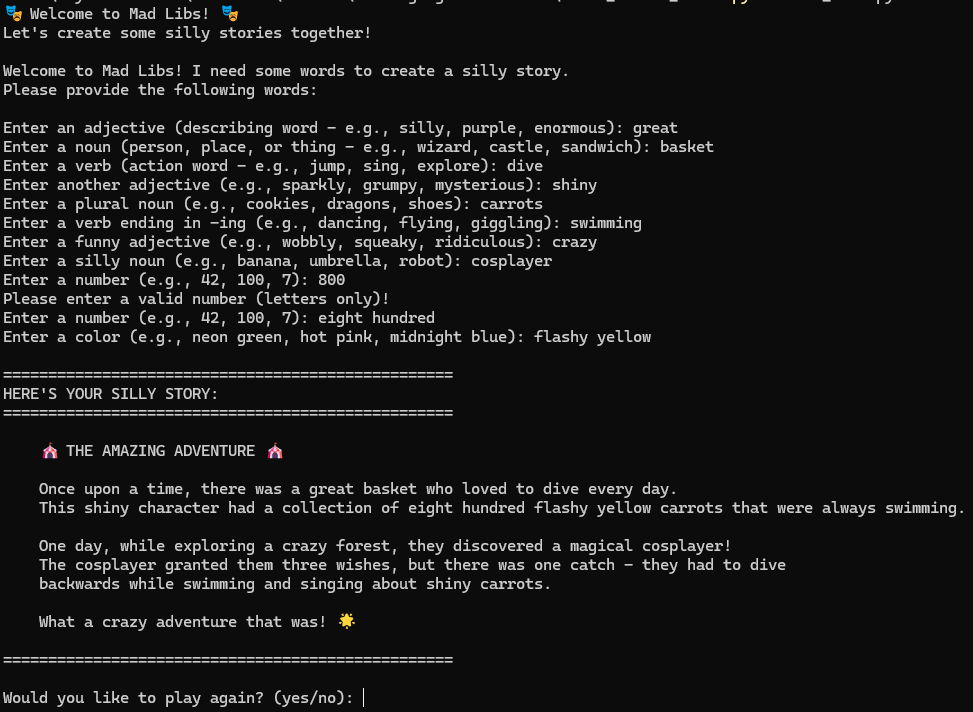
Try running the project as instructed and check if everything works as expected. For me, it worked, and I got the following output:
A good start, but you can refine it to make it better. For example, if you thought it wasn’t clear what kind of words it wanted, propose to add examples to each word prompt:
Please add examples to each word prompt. It wasn't always clear what was expected of me.
This time, Claude will ask if it’s ok to edit a file:

Choose option 2 here so future edits can be applied without having to ask you.
Now try running the project again with the improvements in place.
This back-and-forth is fundamental to working with Claude Code. Making gradual changes and iterating on the results is a great way to refine your code.
Close the terminal window and get ready to dive deeper. In the next section, you’ll learn how to work with existing projects and how to get the most out of Claude Code.